DIY Concrete Sleeper Installation – Step By Step Guide
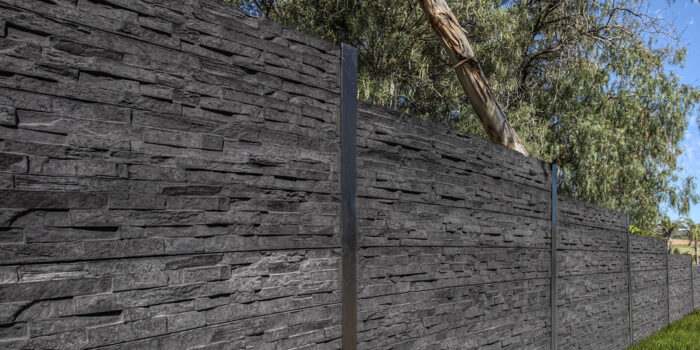
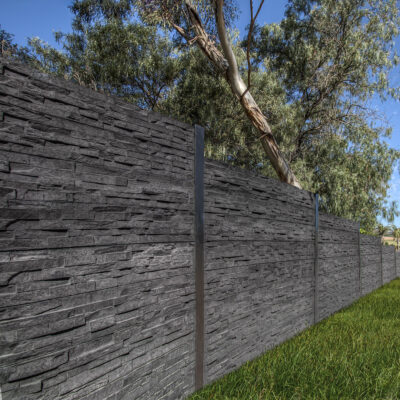
Concrete sleepers are one of the most robust, low-maintenance landscaping materials you can use at home — whether you’re building a retaining wall, a garden bed, fence, or a structural feature in your outdoor space. With heavy-duty strength and a clean modern aesthetic, they make an excellent choice for hardworking outdoor projects.
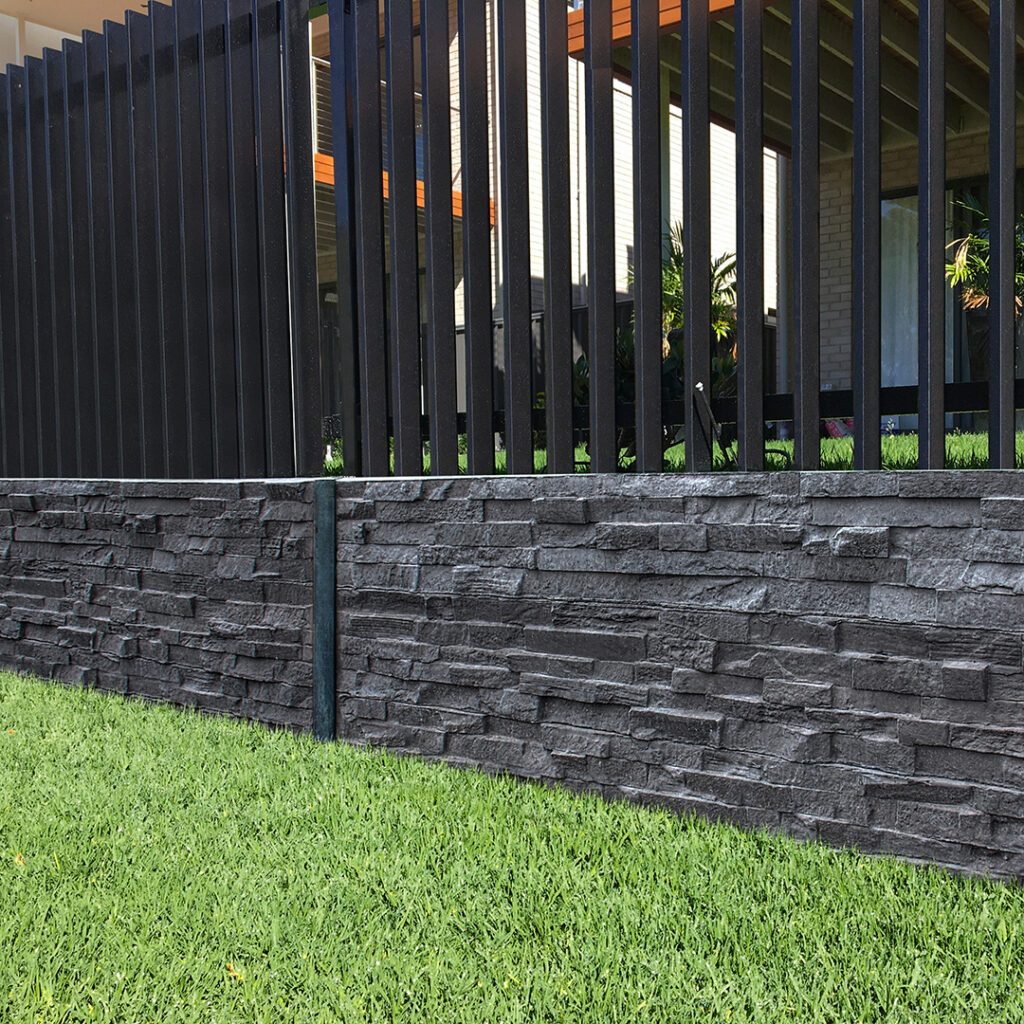
You need to consider the weight of concrete sleepers. They can weigh around 80-100kg each so you’ll need extra assistance or equipment to install them. To make the job easier, you may want to consider using Retaining Wall blocks instead as they are much easier to handle, especially if you were planning on installing your wall by yourself.
At Australian Paving Centre, we can help you on how to plan, prepare, install and finish a concrete sleeper project with confidence — even if it’s your first DIY build.
What You’ll Need Before You Start
Before you start, ensure you have everything you need and that you have the correct safety gear
- Tools & Materials You’ll Need
Concrete sleepers
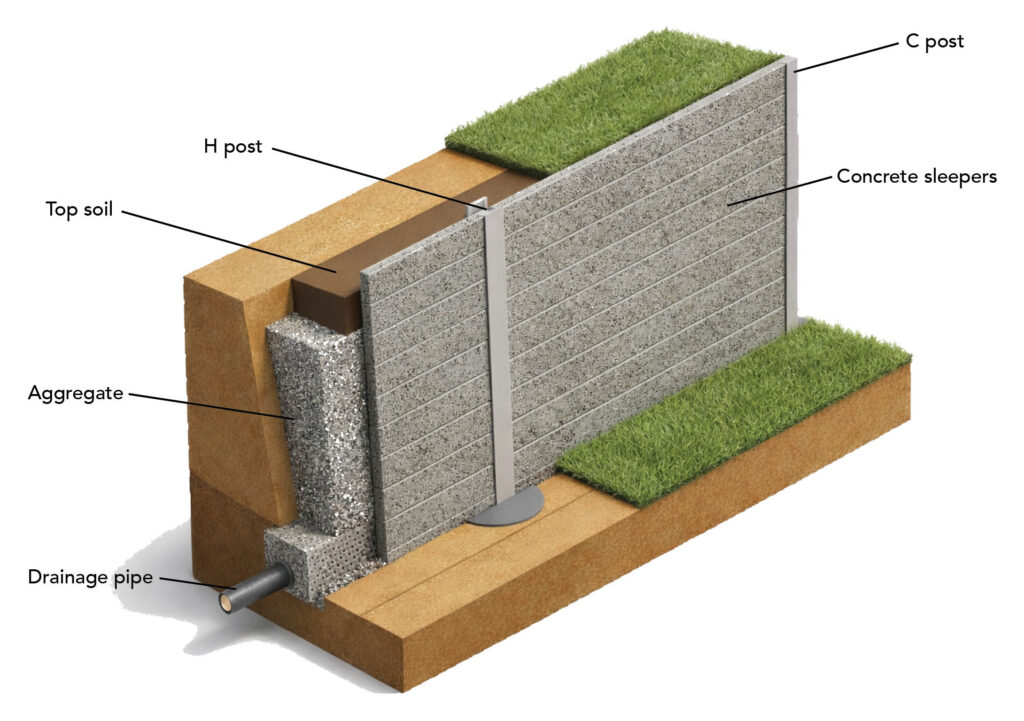
Steel posts (H posts for straight runs, C posts or corner posts for turns)
Concrete for post footings
Shovel, post hole digger or excavator with auger
Gravel or crushed rock for base and drainage
Spirit level
String line, steel pins and hammer
Tape measure
Shovel or post hole digger
Wheelbarrow
Rubber mallet
Angle grinder with diamond blade
Safety gear: steel capped boots, gloves, eye protection, dust mask - Safety First!
Before you start, remember to prioritise safety:
Eye protection is essential when cutting pavers.
Wear ear protection when using power tools like a compactor or brick saw.
Bend your knees when lifting heavy pavers to avoid back strain.
Work boots protect your feet, while gloves protect your hands.
If working in the sun, don’t forget to slip, slop, slap and stay hydrated.
STEP 1: Plan Your Project LayoutIt’s important to plan out your project by marking out your planned wall with stakes and string:
Purpose
Are you building a retaining wall, a garden bed or a boundary wall? Be clear on the height you need and reinforcement and drainage.
Consider the slope
Sloped or steep ground may need stepped or a tiered installation rather than continuous levels.
Council regulation
In SA, retaining walls over 1.2 m in height often require council approval and structural engineering input for compliance and safety.
Considerations
Do you need steps? Do you need it to be multi-purpose so requires seating? You need to consider if concrete sleepers are the best choice or retaining wall blocks are better suited.- STEP 2: Prepare the Site
Clear vegetation, debris and any loose soil where your wall or sleeper feature will sit.
Dig out the topsoil. If the area is grassed, it may be easier to kill the lawn off first before digging out.
Level the area using a rake or shovel so your base material sits flat.
Spread 100–150 mm of compacted gravel or crushed rock over the levelled area. This creates a firm foundation that helps drainage and prevents movement. Ensure your base height is correct before installing your first sleeper.
For sloped land, you might need to cut into the hill or add a stepped terrace before installing posts and sleepers. - STEP 3: Install Your Posts
Steel posts act as anchors and give your sleepers the structural support they need:
1. Dig post holes at regular intervals — typically matching your concrete sleeper lengths (e.g, if sleepers are 2.4m long, set holes 2.4m apart).
2. Your post holes should have as much steel in the ground as out (e.g 800mm wall should have a 1600mm steel post with 800mm in the ground).
3. Insert the steel posts and make sure they are perfectly vertical using a spirit level.
4. Pour concrete around the base of each post and allow it to cure.
It’s important to ensure your footing is strong and secure to provide longevity and stability. - STEP 4: Add the First Sleeper Row
Once your posts are set:
Slide the first concrete sleeper into place at the bottom of the posts.
Use a spirit level to check it’s perfectly horizontal and aligned.
Tap with a rubber mallet if minor adjustments are needed. - STEP 5: Stack Additional Rows
For taller walls or raised beds:
Stack the next sleepers straight up, sliding them into the grooves on the posts.
Work methodically — consistent alignment is key to a professional looking result. - STEP 6: Backfill & Ensure Drainage
Concrete sleepers resist water and weather. However, soil and water pressure behind the wall can still work against you if not properly managed. It’s important to ensure you have adequate drainage – you can never have too much drainage!
It is recommended to line the back of your concrete sleeper wall with builders plastic before back filling. This will avoid water and dirt running through to the face of the sleppers.
Backfill behind the sleepers with compacted gravel or sand to relieve soil pressure.
We recommend installing a perforated drainage pipe at the base of larger walls to channel water away. This reduces water pressure, which can otherwise cause failure over time.
Proper drainage is essential!
DIY TIPS AND COMMON MISTAKES TO AVOID
• Plan for drainage early — without it, pressure build up can undo all your hard work.
• Never skip site prep or alignment — proper preparation is key and an improper foundation leads to shifting and uneven walls later.
• Handle heavy sleepers safely — they can weigh over 72-120kg each — enlist help or use equipment to lift them.
Visit us at APC to pick up a free sample!
Or, send us a product enquiry or request a quote online