How To Lay Wet Cast Concrete and Natural Stone Pavers On Sand

About Wet Cast Pavers
There are two main types of concrete pavers, wet cast and dry cast pavers. The main difference between wet cast and dry cast pavers is in the manufacturing process. Wet cast concrete is quite liquid. It has a high slump rating which is a measurement in concrete consistency. This slump gives it the ability to be poured from a mixer or hopper into a rubber or a metal mould. It is then vibrated to release any air bubbles out of the mix. The mould is latter stripped after the concrete has cured and the pavers are carefully hand palletised for storage and delivery.
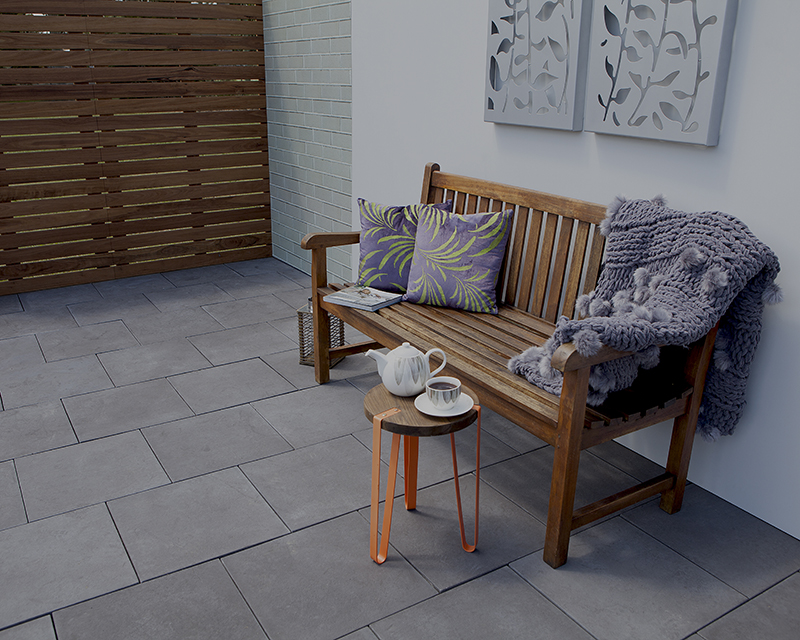
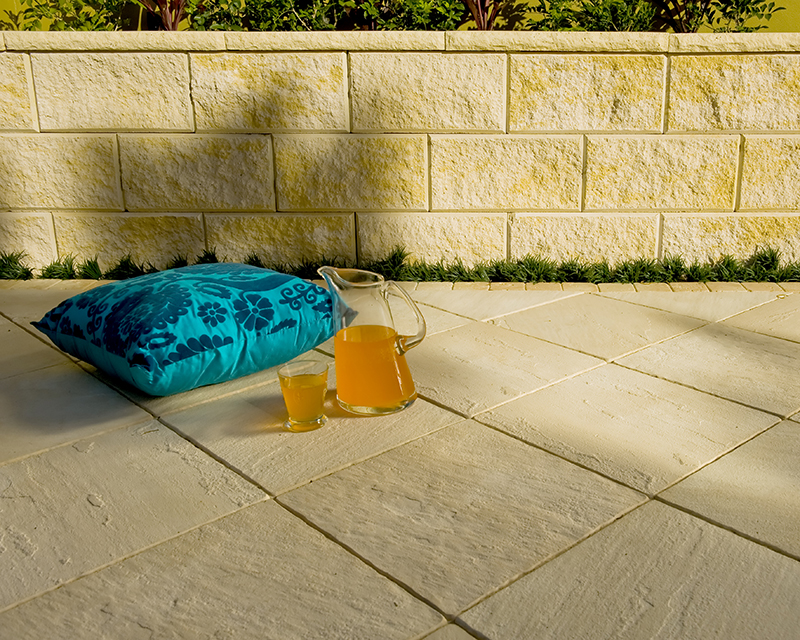
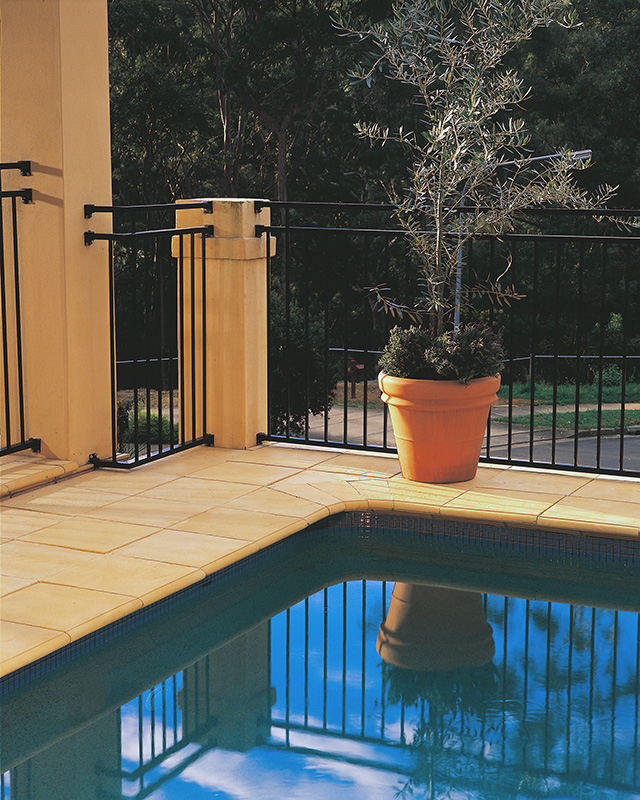
Popular wet cast pavers are Attenstone, Centurystone, Bradstone, Coastal Stone and Pool Paver. Wet cast pavers are generally considered “handmade” and a better-quality paver overall. Wet cast are mostly salt resistant, well finished, of high strength and high quality. Due to the high labour associated with the manufacturing of wet cast they may be more expensive than dry cast pavers. Wet cast pavers are a very popular choice for Pool Pavers and Patios and are considered unique in how they are made.
About Dry Cast Pavers
The dry cast manufacturing process uses large automated machinery and is associated with products like concrete blocks and bricks, Flagstone pavers, Brick pavers and Courtyard pavers. Dry cast concrete has very little water and has zero slump, more like the consistency of wet sand at the beach as opposed to what you’d normally see come out of a cement truck. It contains only enough water to hydrate the cement. This mix is compressed in a mould with very high pressure and then cured on a rack before being mechanically palletised and stored. They are not well renowned for salt resistance. Natural stone or wet mix pavers are a better choice for pool paving.
Due to the differences in manufacturing techniques, the texture, colour, and size availability of wet cast compared to dry cast pavers will vary with the choice being far greater in the wet cast range. Wet cast pavers come in a wide range of sizes, colours and surface pattern styles. Wet cast pavers feature richer, bolder tones like dark black or deep sandstone and natural limestone colours. Smoother finishes can also be achieved with wet cast pavers as well as many more surface textures. Wet cast products can sometimes look like natural stone in appearance. Dry cast pavers have fairly basic surface texture and colour, have more breakages and are popular for those on a tight budget.
Advantages of Wet Cast Pavers
Strength
Popular for their durability and strength.
Colour Durability
It has a wide range of rich, bold colour choices.
Easy Installation
Quick and easy installation but still exudes a professional look.
Easy to Clean
Quickly clean spills, stains, or dirt simply with any household cleaner or other selected cleaning agents, such as Green Acid which is available through selected APC stores. You may even use a pressure washer, depending on the installation method used*.
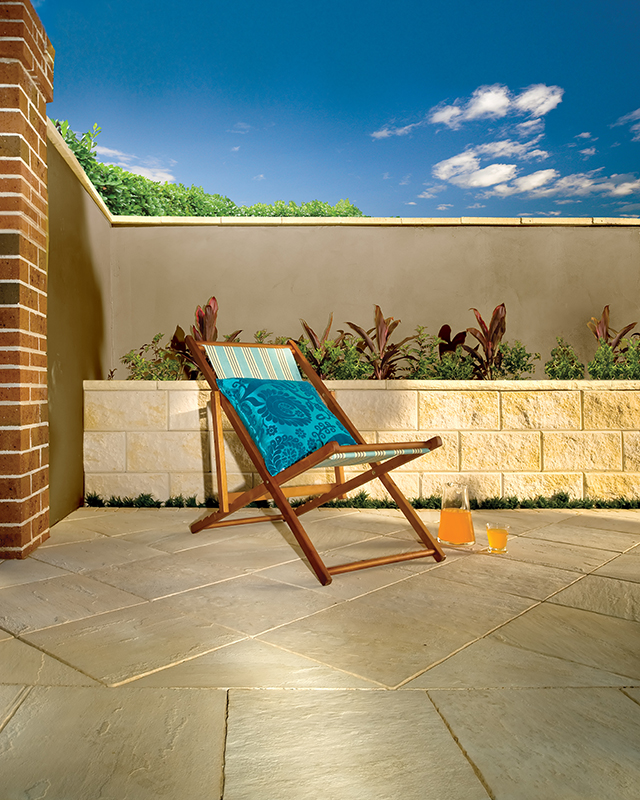
Stylish
Can suit any home decor for both indoor and outdoor use.
Stain Resistant
Our pavers and tiles resist moss, dirt, mould, and other staining.
Slip-Resistant
The structured texture creates a slip-resistant surface, making it safe to use around pools or in wet climates.
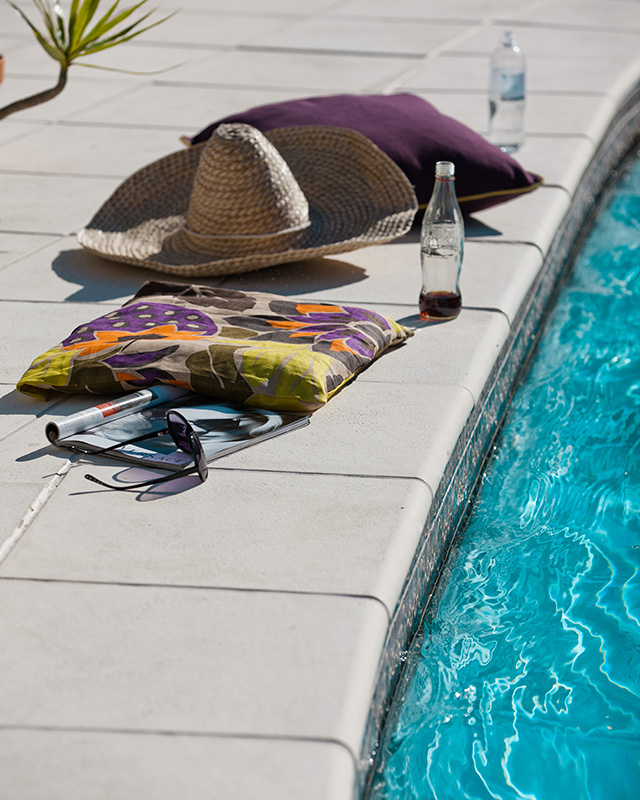
Salt Resistant
The dense, durable structure makes them salt resistant, ideal for pool surrounds and coastal applications.
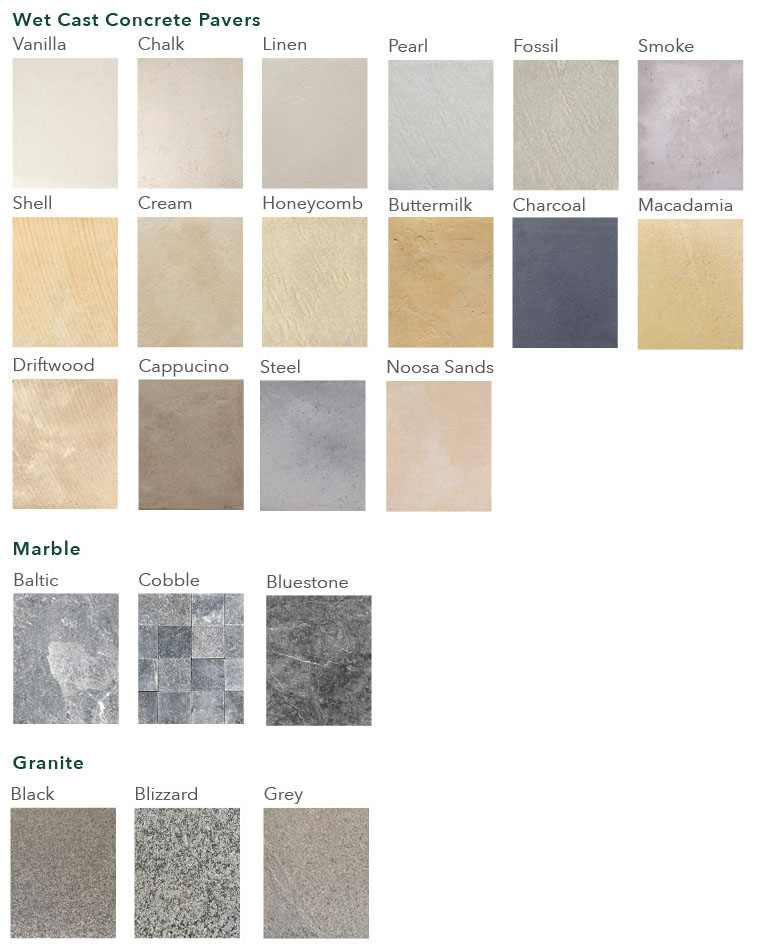
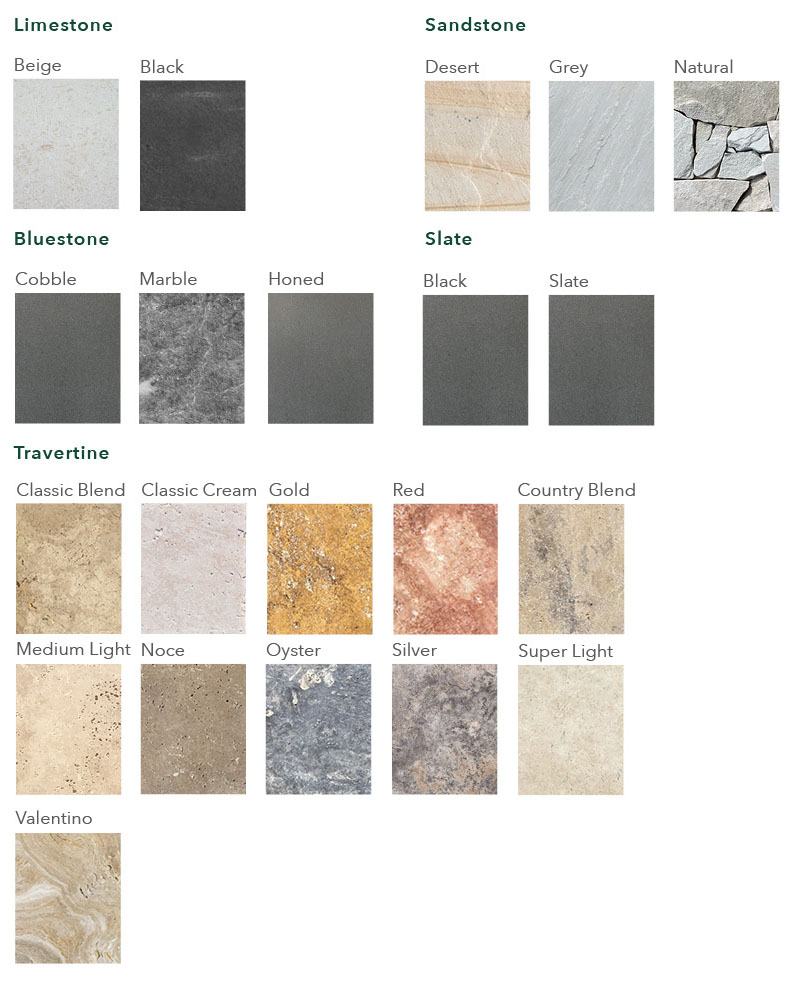
Colour Range
Installing Wet Cast Pavers
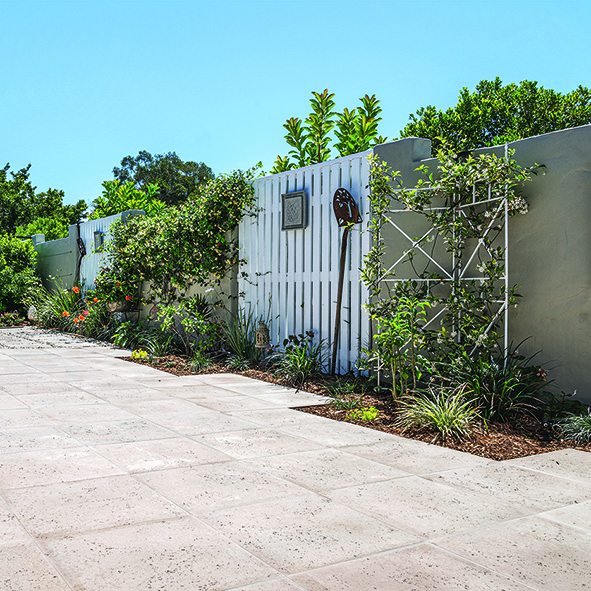
APC pavers can be easily installed DIY style. With our easy-to-follow guide, you will be able to finish your project over the weekend.
- Patio
- Courtyards
- Pathways
- Pool area
They should be laid on a convention rubble, sand paving base. View our DIY Paving Guide –
Cutting Pavers
We recommend using a quality powered saw even when you only need to trim the pavers. A specific blade must be used to cut. Use safety gloves and goggles to ensure your safety.
If you are not confident in cutting the pavers yourself, it is best to contact a professional and let them do the cutting for you.
Establishing Your Sub-Bed
Before setting out on your paving project, ensure your target area is suitable for installation.
Be advised that under no circumstances must paving be performed on areas with a slope that is less than a 1:100 ratio.
Careful assessment and proper measurement of the area are the keys to this step.
Compaction
To ensure your pavement is level, it is necessary to compact the backfill layers such as your soil, rubble, or sand. Compacting will reduce any air pockets between the aggregates and will increase its load-bearing capacity.
- Use your rake to spread out your material or use the back of the rake to level out the layer
- Start by compacting at the sides
- Continue your work in straight lines until you reach the middle
- Repeat once or twice in the opposite direction

Laying Wet Cast Pavers and Natural Stone on Sand
Due to the uniqueness of the wet cast paver they are more subject to size variations in paver height and dimension.
Wet cast pavers must be bedded into a soft fluffy sand. See item (5) Getting Started.
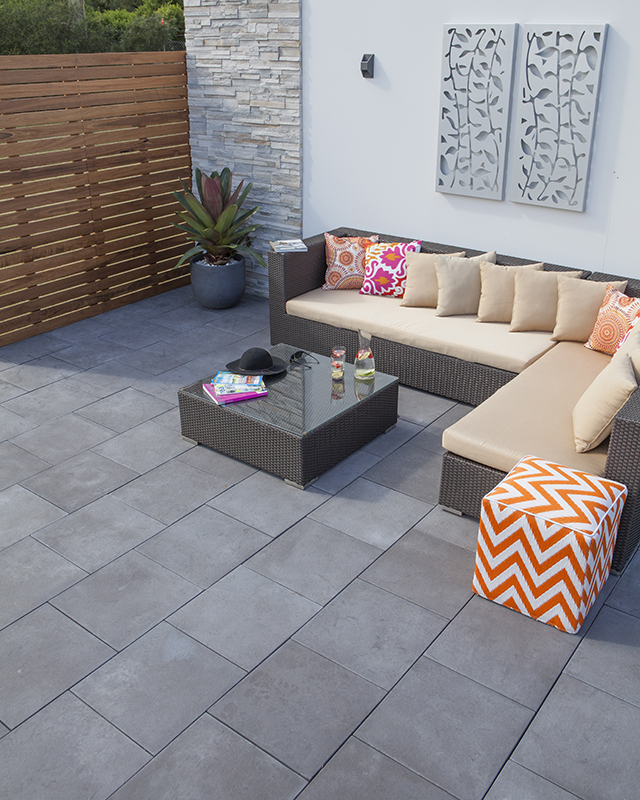
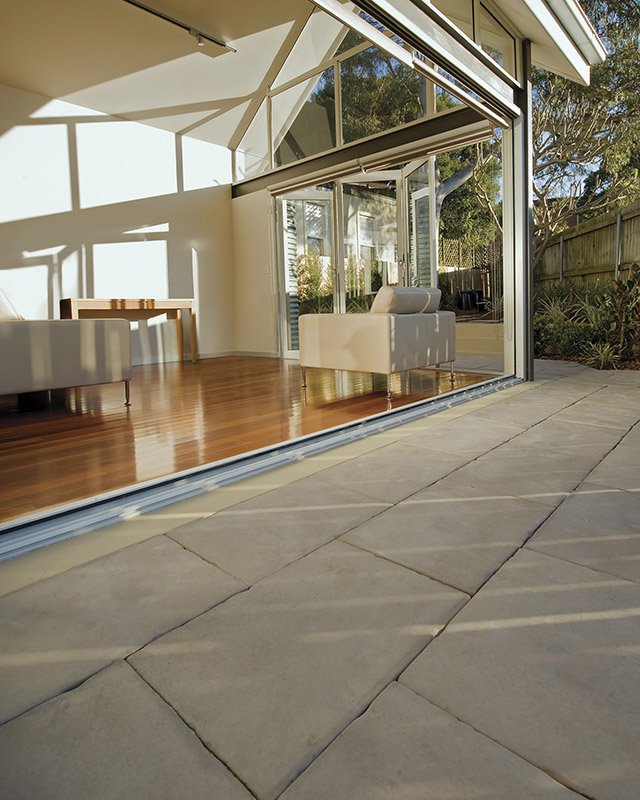
Paving on sand can be done on different applications such as garden, patio, courtyard, and pathways.
- Pavers
- Wheelbarrow
- Excavation tools
- Compactor Plate
- Rubble
- Sand
- Rake
- Spirit Level
- Mallet
- Gloves
- Shovel
We highly recommend consulting with our knowledgeable staff when it comes to the ideal thickness of the sand and rubble layers. Different applications require different thickness and different ratios of fall or slope.
Getting Started
1. Start by designating an area. Mark the perimeter with steel pins and a string line.
2. Excavation is as crucial as laying your pavers. Before you start digging, it is essential to consider these factors –
Load on the paving – A more significant service load will require more exceptional thickness in the layers or a concrete base.
Condition of the soil – Undisturbed soil will have a better bearing capacity.
Drainage – Drainage capacity of your soil will also affect the bearing capacity.
3. Use your rake or shovel to level the excavated area. Make sure you have a slope with a 1:100 ratio to facilitate water drainage. Compact the soil before proceeding to the next step.
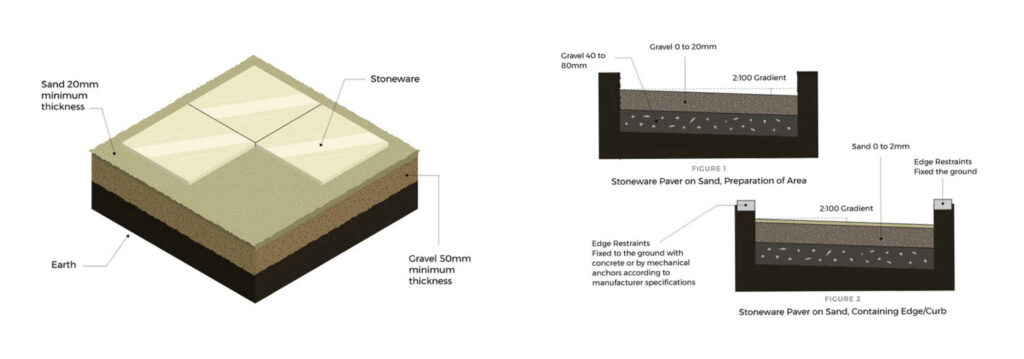
4. Add a layer of rubble, depending on the thickness needed for your application. The rubble will withstand the load on the paving and act as the load-bearing element. Level the layer with the same portion of 1:100 ratio facilitating the water drainage. Compact the rubble and make sure it is levelled.
5. Spread a layer of soft fluffy washed concrete sand no greater than 30mm thick over the layer of rubble. This is the sand you bed your wet cast pavers into. It must be soft and fluffy to allow for some variation thickness of the wet cast pavers.
6. Adding edge restraints will keep your pavers from shifting outside of their design perimeter. These will prevent any instability on your paving.
The edge restraints must be installed along the perimeter of the paving. You may skip parts where it has direct contact with a footpath, a wall, or an edge that is sufficiently rigid. You must fix the restraining side to the ground using concrete at the base.
7. Check the surface by sliding a steel straight edge placed on two runners such as metal straps. Once smooth, use your spirit level and check the gradient of the surface.
8. Start laying your pavers and take considerable measures not to damage the surface. The pavers should have a joint space of 3-4mm in between. Delicately tap each paver in place using a rubber mallet.
Paver Joints
We recommend joint spacing with a minimum of 3mm. Joints are crucial as their function is mainly to absorb any movement of the paver and prevent chipping. For a suitable width, use spacers with a 3mm thickness and position them at the intersections between the pavers. Pavers cannot be butt jointed as they will chip on the edges.
Type of Joints
There are two types of joints where each type needs a different filler, depending on the paving method used.
1. Standard dried paving sand
2. Joint with polymer sand
1. Standard Dried Paving Sand
The joints are filled with standard size having a 0 to 2mm grain size. This type of joint has excellent mechanical properties and partially absorbs any movement between the pavers.
Joints with normal sand will not prevent the growth of grass or weeds. Insects or ants can still nest and cause damage to your paving.
Pro Tip: If the paving is done on a windy area or one that is subject to heavy rain, the joints could empty due to erosion. Grouting with normal sand will require routine maintenance filling the joints.
2. Joint With Polymer Sand
Pave-loc is a combination of polymer binders and calibrated sand. This type of joint hardens when the sand is wet, locking the joints of the paving. It is efficient for both flat and sloping areas.
Polymer sand is ideal for applications with steep slopes or areas that have excess water. The sand absorbs movement between the tiles as they harden on the surface but is flexible at the bottom. Weeds growing and insects nesting will be reduced with this type of joint.
Pro Tip: Fill the joints by using a soft broom. This will distribute the sand without damaging the tiles.
After filling the joints, be sure to remove any excess sand on the surface. If possible, you can use a leaf blower. Once the surface is clean, spray the sand with water, and it will start the process of polymerisation. When spraying water, it should mimic rainfall with a height of 1.5 meters. Do not apply too much water. Spray again, 5-10 minutes, later in the same way.
If there is still excess sand on the surface, we recommend removing them, again with a leaf blower, before the paving dries out. In dry weather, the paving will be ready after 24 hours.
Pro Tip: This type of product will not polymerise at temperatures below 0℃ or in very damp conditions. This is not recommended for joints that are greater than 4mm.
Or visit your nearest APC to talk with one of our friendly staff about your paving project and they can help provide you with the right advice.
Visit us at APC to pick up a free sample!
Or, send us a product enquiry or request a quote online